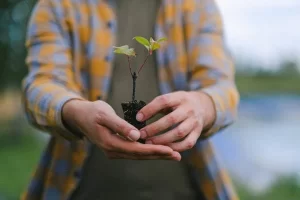
Once you have hardened off the seedlings you have grown indoors or in a greenhouse, it is time to move them to the garden. But before you make the transition, it is important to know the specific steps needed for a successful transplant. These steps apply not only to seedlings but also to more mature plants.
What to Do in Advance
There are a few things you can do in advance of moving seedlings or new plants to the garden that will help minimize transplant shock and increase the chances of success.
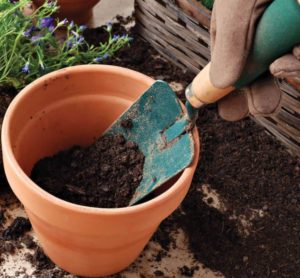
1. Prepare the Soil
Whether you are growing in the ground, raised beds, pots, or grow bags, it is important to prepare the soil for the new plants. You will want to remove any weeds or plant material from the previous growing season. Also, loosen the soil and remove sticks, rocks, and anything else that might impede root development.
Next, add mature compost, working it into the top layer of soil. This will add necessary nutrients and improve drainage.
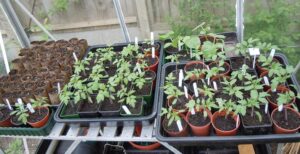
2. Harden Off
If you are planting seedlings grown indoors or in a greenhouse, you will need to harden them off. The process involves helping the young plants become acclimated to the environment by increasingly exposing them to outdoor conditions. You can learn more about the process in this helpful article: 3 Easy Steps to Harden Off Seedlings and Plants. If the plants have been growing outdoors for a while, you do not need to complete the hardening off process. Simply follow the remaining steps.
3. Water the Soil
Water both the plant you are relocating and the area that will receive it. This will help to prevent transplant shock by creating a welcoming environment. The roots will have immediate access to moisture, and the root ball and garden soil will be able to come together more easily.
This article contains affiliate links. If you make a purchase using one of these links, I will receive a very small commission at no additional cost to you, and it will help me maintain this website. Rest assured, I only recommend products I actually like!
Time to Transplant
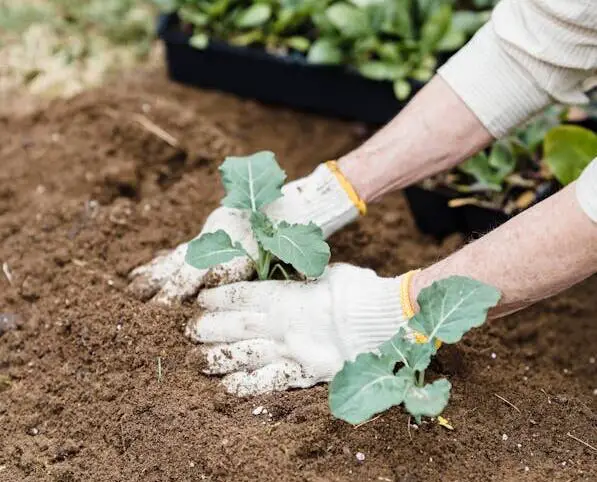
4. Dig a Hole
Digging a hole sounds simple enough, but the depth and diameter of the hole are important. You want the hole to be slightly larger than the root ball of the plant and at the same depth as the container in which it was grown. An exception would be tomato plants, in which case they should be planted deeper. That is because tomato plants develop roots along the stem. Planting them deeper enables the plants to develop a stronger root system and thereby a stronger, healthier plant.
Next, carefully remove the plant from its container and gently loosen the soil around the root ball. Some recommend adding a root stimulant to the hole before inserting the plant. Fill the hole back up with the soil, gently tapping down the soil with your hand or garden trowel.
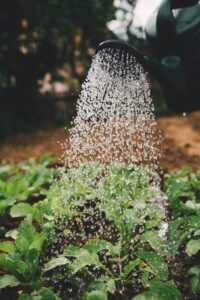
5. Water and Mulch
Water the plant, being careful not to disturb the soil so that any soil-borne pathogens will not splash onto the leaves. Adding a layer of mulch creates a barrier between the soil and the plant to help minimize soil-splashing. It can also help with moisture retention, decreasing the need to water as often.
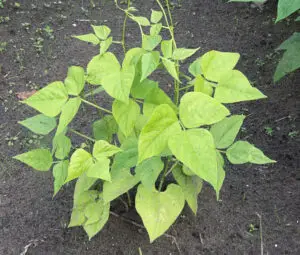
Watch for Signs of Shock
Transplant shock can occur when a plant is moved from one environment to another. Seedlings as well as more mature plants are at risk. It is not unusual for new transplants to experience some minor shock. However, you need to check on the new transplants for signs of shock and intervene. Signs include wilting leaves, a droopy plant, leaf discoloration, and stunted growth.
Thank you for reading this article! If you found it helpful, please consider sharing it with others via email and social media!