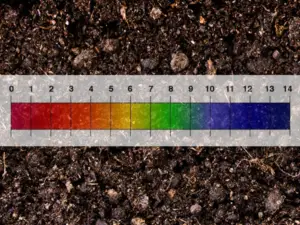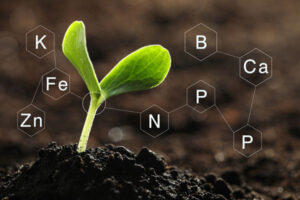
Gardeners and homesteaders alike have long known the benefits of adding compost to their gardens. Healthy soil is the key to healthy plants, and the addition of compost enriches soil health. Black gold, as the fully decomposed waste is often called, is teeming with macro and micronutrients and beneficial microbes that strengthen soil fertility and improve soil structure for better water retention and drainage.
While you can purchase compost from your local plant nursery or big box stores, it is easy to make your own. There are numerous methods for making compost, but the basic instructions are the same. In this post, we will go over the fundamentals of composting and how you can make your own black gold.
This article contains affiliate links. If you make a purchase using one of these links, I will receive a very small commission at no additional cost to you, and it will help me maintain this website. Rest assured, I only recommend products I actually like!
What You Need to Get Started
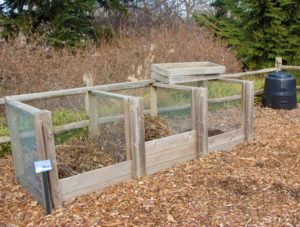
There are a few must have ingredients that you will need to begin composting. The primary ingredient is compostable organic materials which are classified as either carbon, also called browns, or nitrogen, also known as greens. You will need a variety of both carbon and nitrogen based materials, as well as a water source to moisten the material as needed, and a way to incorporate air into the material so that aerobic microorganisms can live. You will also need a container to house the materials in while they compost.[1] Three of the more common and most efficient ways to contain compost are:
- a three or four-sided bay that is often made from recycled lumber or pallets
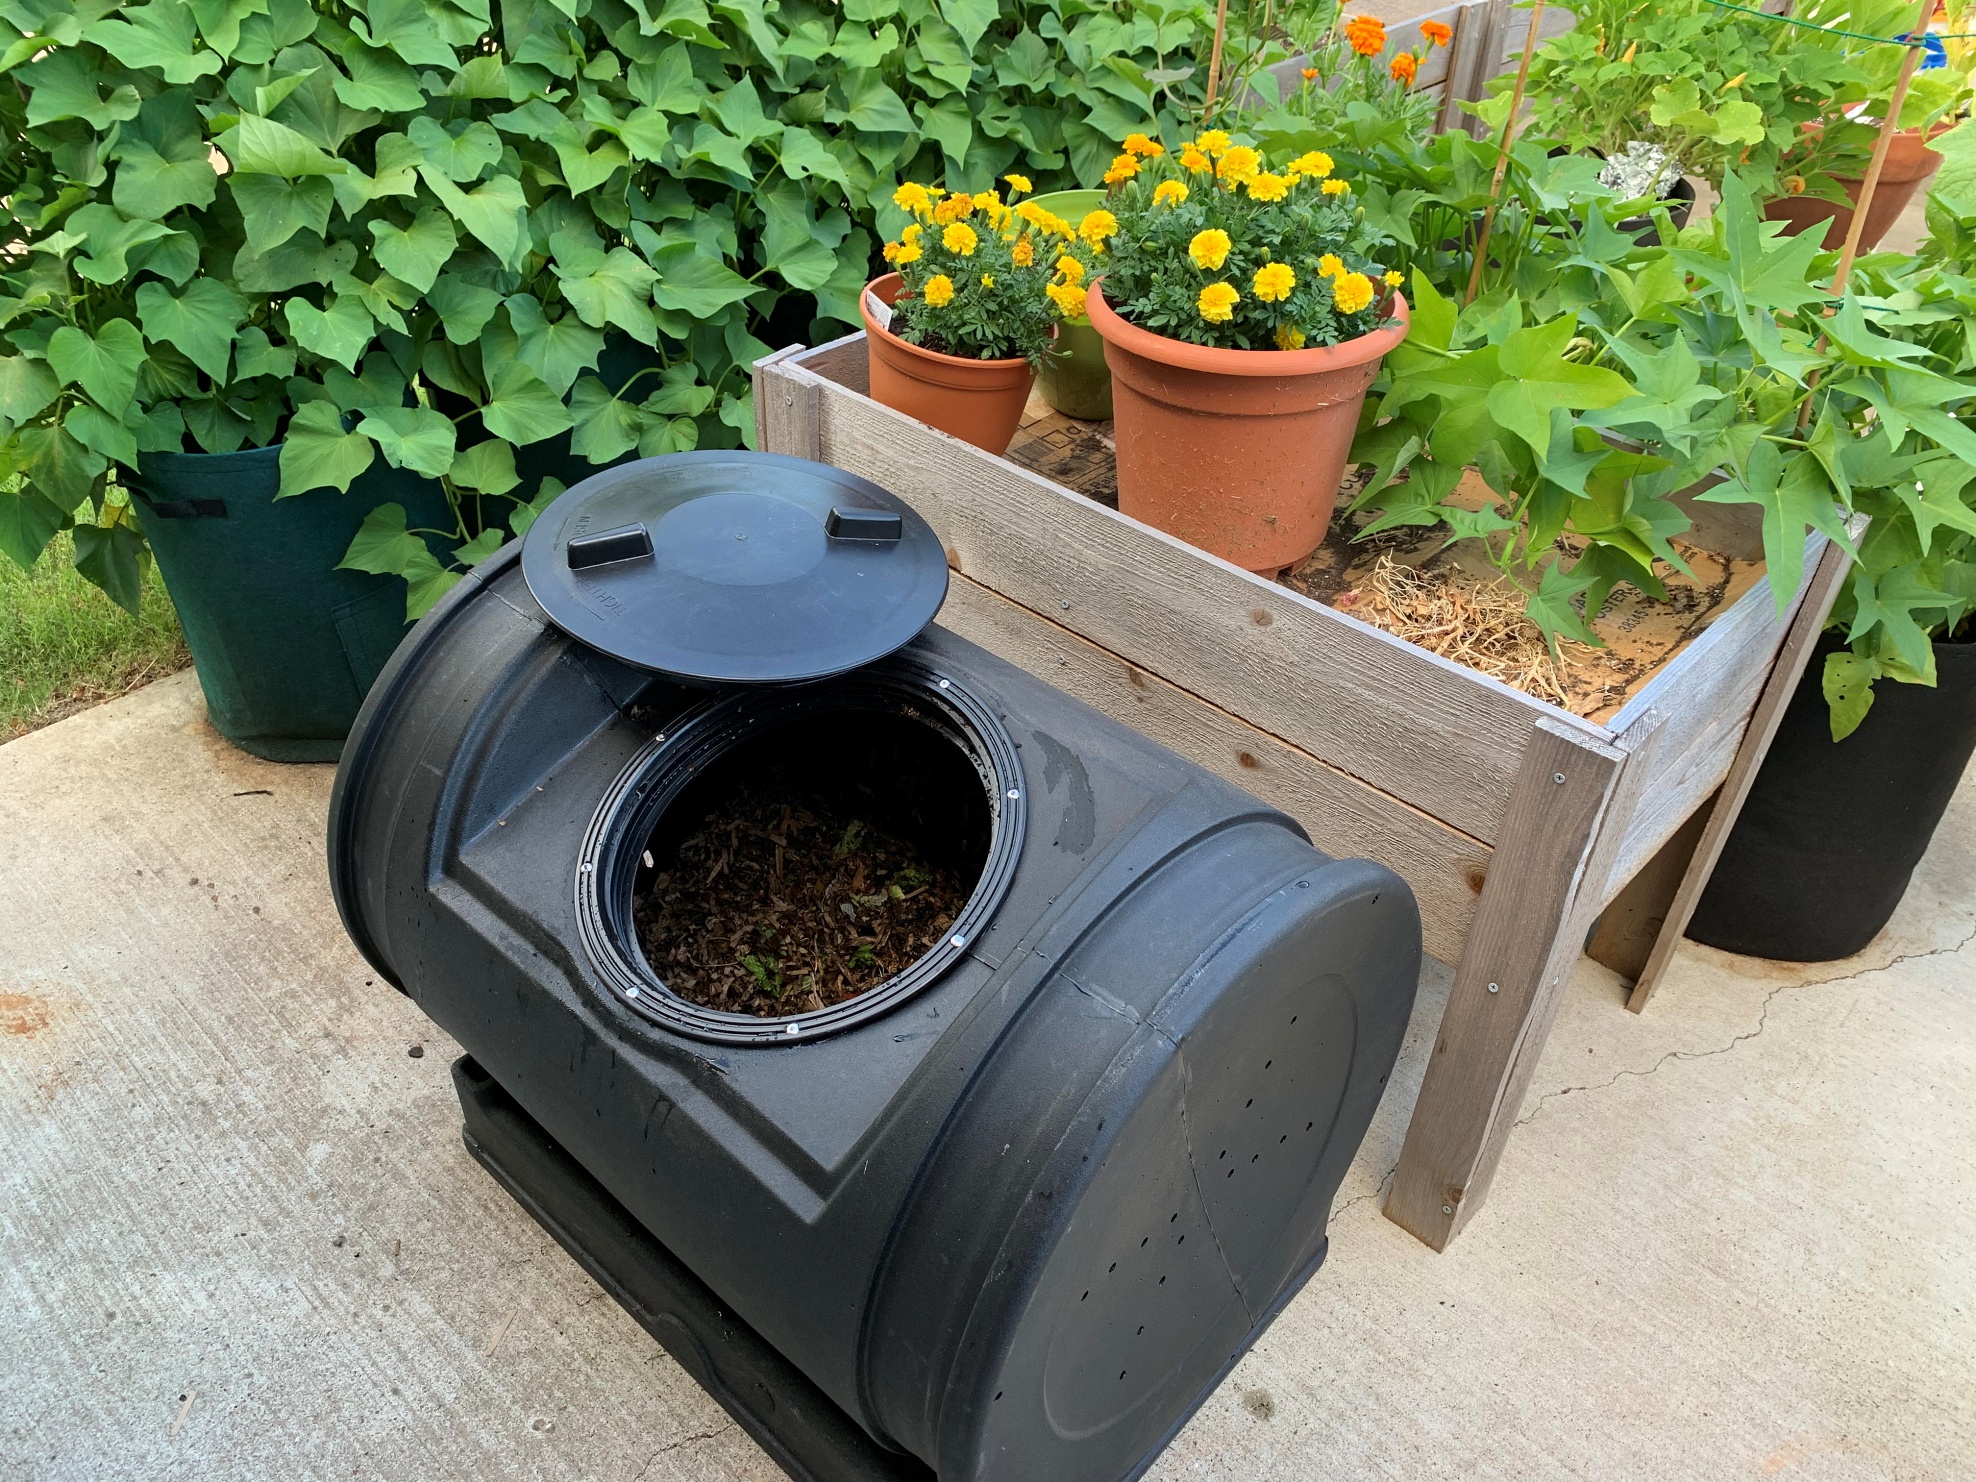
- a bin, which is an open-ended cylinder made of chicken wire or a prefab one such as the Geobin
- a compost tumbler

To expedite the decomposition process, you will need to keep the compost “hot,” meaning the internal temperature measures between 120-170oF (49-77℃), with the ideal range between 130-140o F (54-60℃). When the material “cooks” at this temperature, the microbes are most active, turning the waste into compost. To achieve and maintain this active state of decomposition, it will require about three cubic feet of material that is kept moist and aerated.
When the seasons change and the outdoor temperatures cool, composting can still take place, although at a slower pace. However, if temperatures fall below freezing for several days or more, the microorganisms will stop working. Once the temperatures rise, the microorganisms will resume the process.
Composting Materials
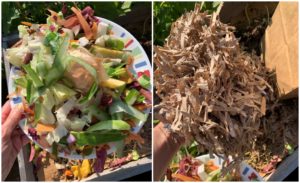
You will need to gather a variety of compostable materials, both carbon (brown) and nitrogen (green). For example, green or nitrogen rich materials include:
- coffee grounds (considered green even though they are brown in color)
- garden waste
- grass clippings
- tea bags
- kitchen waste (vegetables, crushed eggshells, etc.)
Brown or carbon materials include:
- dried leaves
- paper
- cardboard
- sawdust from untreated wood
- straw
Some of the things that should never be added to a compost pile of this nature include:
- pet waste
- animal fat
- cooking oils
- dairy products
- meat including poultry (cooked or raw)
- weeds that have seeded
- diseased plants
- human waste
Shredding the materials will help accelerate the process because there is more surface area for the beneficial bacteria and fungi to feed on, but it is not necessary. You will also need a shovel or two of good, clean soil or compost material from a previous batch. The microbes in the soil or compost will help jump start the new pile.
For the compost to decompose properly, the materials need to be added in the right ratios. While this is a topic in and of itself, suffice it to say that you will basically need two parts carbon to one part nitrogen.
Because I strive for an organic garden, I only compost organic waste and unbleached paper and cardboard that does not have ink. I also only incorporate garden or lawn waste that has not been treated with non-organic fertilizers, pesticides, fungicides, or insecticides.
Basic Steps For Starting A Compost Pile:
Step 1: Locate the bay, bin, or compost tumbler in a sunny to partly sunny location that is level and has good drainage. The heat from the sun will help heat up the materials, but if it is too hot, the materials will dry out too quickly. If using a bay or bin, be sure to set it directly on the ground so that worms, pillbugs, millipedes, beneficial nematodes, and other compost helpers can have access to the pile.
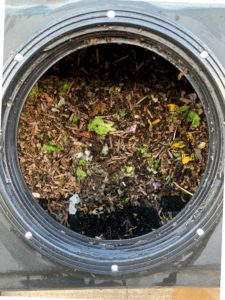
Step 2: Layer the materials. Start with a layer of carbon, followed by a layer of nitrogen, then add a small amount of soil or compost. Moisten slightly and repeat the layers, ending with a carbon layer on top. It may take a week or two for the internal temperature of the pile to reach 120oF.
If you do not have enough material to make a pile that is three cubic feet, just add material as you are able. Once you reach the desired mass, stop adding new material. If you have extra material, you can start a second and third pile. Note that as the material decomposes, the pile will shrink in size.
Step 3: Turn the material using a four-tine spading fork or other garden tool so that what was on the bottom is now on the top and vice versa. Or better yet, if you have a compost tumbler, simply rotate the bin. This incorporates air into the pile which the microbes need in order to metabolize the waste. Turn the compost every five to seven days in order to achieve and maintain proper temperature. If you observe steam when turning the pile, this is a sign that the compost is hot and active and that the materials are decomposing at an accelerated rate.
A compost thermometer is a good way to monitor the temperature of the compost. This is important for a number of reasons, one of which is that if the pile gets too hot (temperature in excess of 170oF ) it can kill the microorganisms. This compost thermometer is similar to the one I have.
Step 4: Moisten the pile as needed. This can be done by adding water or by adding additional nitrogen. This is important because microbes require water, and a dry pile takes longer to decompose. The pile should have the moisture content of a wrung-out sponge. If the pile is too wet, you can add more carbon and turn the pile to expose it to more air which will help dry it out.
What To Do If The Compost Smells
Good compost should smell like dirt. If it smells like ammonia or sewage, it means the pile is out of balance. Too much nitrogen, too much moisture, or poor aeration can all cause compost to smell.[2] To remedy the situation, add more carbon material to help balance out the nitrogen and to absorb some of the excess moisture. Also, turn the pile to help “fluff” the material and to add more oxygen.
How to Know When The Compost is Ready?
Fully mature compost can take between one and three months, depending on whether or not proper conditions were maintained or what time of year you started. One of the ways to tell if the compost pile is ready is that it has a crumbly texture, and it looks and smells like dirt! Plus, you should not be able to recognize any of the materials that were originally added to the bin, i.e., grass clippings, kitchen waste, etc., only dirt. There may be an occasional twig, leaf, or root remaining, but those can be pulled out if the rest of the pile is fully composted. Another way to tell when the compost is ready is that the pile will be about half of its original size.

Composting is a great way to build soil health while making good use of organic waste. While there is much science that goes on behind the scenes, you do not need an advanced degree to make compost. If you follow these basic steps, you will have a nutrient and microbe-rich soil-building additive for your garden.
You can learn in this helpful article: Compost or Fertilizer: What’s the Difference? Which is Better?
Thank you for reading this article! If you found it helpful, please consider sharing it with others via email and on social media!
[1] Technically, you can do a free-standing pile, but a container helps to hold the material together, and it helps keep wild animals and pets out.
[2] It could also mean that you added ingredients that should not be composted, like meat, dairy, oils, etc.