Cauliflower is a member of the brassica family, along with cabbage, kale, broccoli, radishes, and Brussels sprouts. It has a reputation for being temperamental, but once you understand its growing preferences, you will be able to enjoy a successful harvest.
This article contains affiliate links. If you make a purchase using one of these links, I will receive a very small commission at no additional cost to you, and it will help me maintain this website. Rest assured, I only recommend products I actually like!
How to Plant Cauliflower
Cauliflower is a cool-weather crop, which means that it is best suited to growing in cooler temperatures. Plant it in nutrient-rich soil or potting mix that is well-draining and has a pH between 6.5 to 7.5. The pH level is important because it can help prevent a plant disease called clubroot. If you are unsure about the pH level, you can check it with this inexpensive and easy to use soil test kit. If you would like to know more about soil pH, here is a helpful article.
While it is possible to grow a fall crop, it can be more challenging because cauliflower, more than any other brassica, is temperature sensitive, preferring temps between 60-75F (16-24 C). Temperatures above this range will cause the plant to bolt, that is, to flower before producing a head. If planting in late summer for a fall harvest, choose a variety that is better suited to the season like Snowball and Romanesco. Use a row cover to provide a little protection from warmer temperatures and pests.
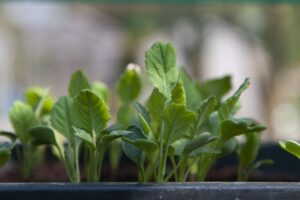
If you want to increase your chances for success, wait until spring to plant. Start seeds indoors about four to six weeks before the last frost date in the spring and use a grow light along with a heat mat to ensure the seeds will germinate. They should sprout in about seven to ten days.
Transplant the seedlings outdoors once they reach about 3 inches (8 cm) tall and the outdoor soil temperature is at least 60 F (16 C), and the danger of frost has passed. If you are unsure of the soil temperature, here is an inexpensive soil thermometer you can use to get a quick reading. (You can learn more about the best soil temperature for planting a variety of vegetables in this helpful article.)
Be sure to harden them off by taking the seedlings outdoors for about a week, gradually exposing them to longer periods of sun exposure each day. Once planted, use a row cover to protect seedlings if temperatures drop below 60 F (16 C).
If growing in containers, plant one seedling in a container that is at least 12” (30 cm) deep and 12” in (30 cm) in diameter. If growing in beds, space them about 15” to 18” (38 to 46 cm) apart.
If you would rather not plant seeds or you waited too long to start, you can always purchase plant starts from your local nursery or big box store.
Sun and Water
Cauliflower requires a minimum of six hours of full sun to develop a healthy head. Of course, more full sun exposure would be even better.
It is important to keep the soil moist but not soggy. Consistent moisture is important because inconsistent moisture can cause a condition called buttoning, which is when the plant forms small flower heads instead of a single, larger head. Insufficient water can also cause the head, if it does fully develop, to taste bitter.
Fertilizer and Nutrient Deficiencies
Cauliflower, like other brassicas, are heavy feeders. You will need to add fertilizer, nitrogen in particular, according to package instructions. This is especially true if growing in containers. Insufficient nitrogen can cause the plant to bolt (go to seed) prematurely. You can tell if your plant is not getting enough of this macronutrient because the leaves will begin to turn yellow, beginning with the lower ones. It is important to add nitrogen when you first see signs of deficiency as the condition can worsen quickly. A fertilizer with higher nitrogen, like fish emulsion, works well. This is the one that I use.
In addition to a nitrogen deficiency, cauliflower is also susceptible to a boron deficiency. When the soil pH is too acidic or too alkaline, it decreases boron’s bioavailability to the plant. The deficiency is seen in new growth that turns yellow or by growing tips that curl or wither. As the problem progresses, the stem will become hollow and show signs of decay. (If the stem is hollow but without signs of decay, it is usually caused by other factors such as too much nitrogen, excessive watering, and a low soil pH.)
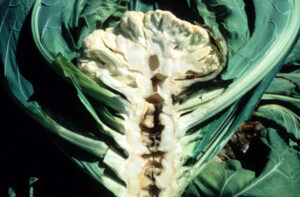
The best way to tackle a boron deficiency is to prevent it. If you have experienced the deficiency before, you can add boric acid, also known as Borax to the soil. You will need to research the proper dose for your particular situation because too much boron can cause soil toxicity.
Blanching Cauliflower
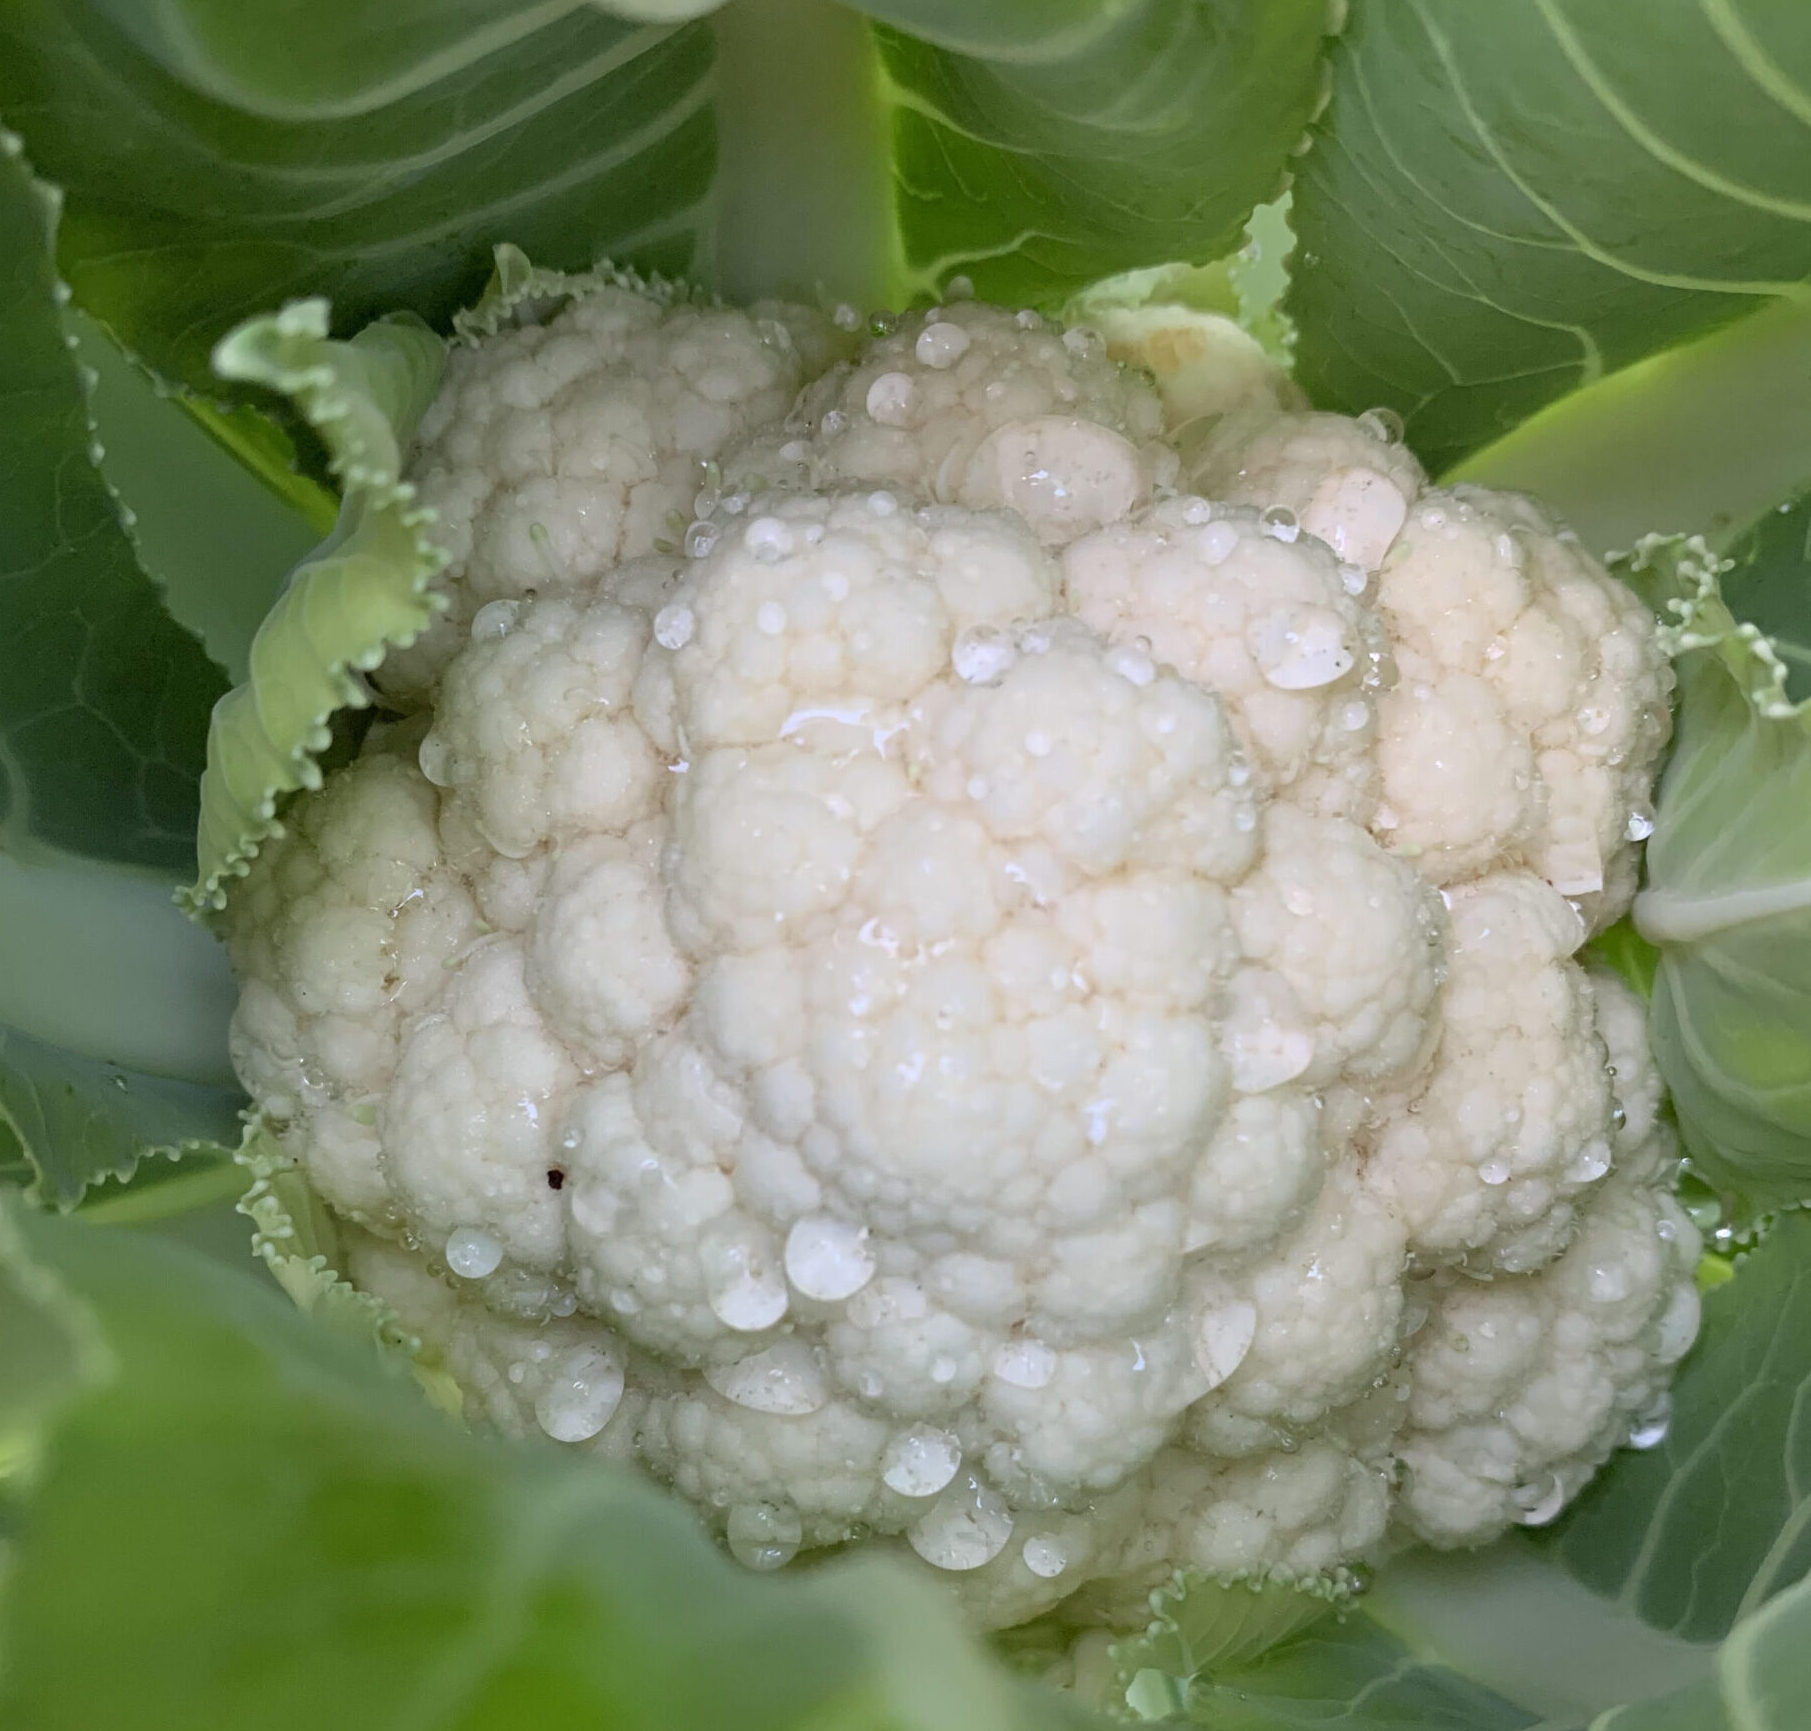
Varieties that produce white heads often need to be blanched to keep the head from turning yellow-brown. Blanching does not improve the flavor as much as it makes the head look more appealing.
When the head reaches the size of a golf ball, gather the closest leaves together so that the head is covered. The goal is for the leaves to protect the head from the sun while still allowing airflow to the head. Secure the leaves with a clip, clothespin, or string. Check on the head from time to time to make sure pests are not secretly destroying it. Do not blanch colored varieties as they need exposure to the sun in order for them to develop color.
Companion Planting
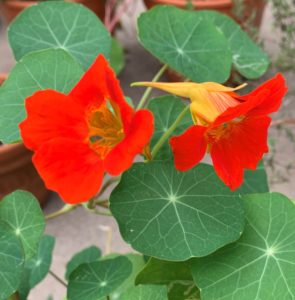
Some of the best companion crops for cauliflower include onions, garlic, radishes, dill, sage, mint, and thyme. Marigolds, hyssop, and nasturtiums also make great companions.
Avoid planting cauliflower with other nitrogen-loving plants like peas and other brassicas as they will compete for the same nutrients and will attract the same kind of pests. Also, strawberries, peppers, squash, zucchini, corn, and cucumbers do not pair well with cauliflower because of the allelochemicals that cauliflower and other brassicas release into the soil.
Pests and Diseases
Just like other crops, cauliflower has a few pests and diseases that you need to be on the lookout for.
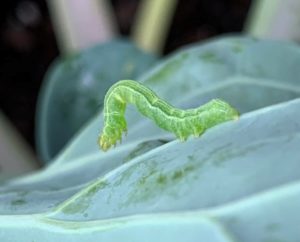
Cabbage loopers are light green caterpillars that develop into a nocturnal mottled gray-brown moth. The small pest damages the plant by devouring leaves and stunting its growth. Learn more about this harmful pest and how to eliminate it in this helpful article. Cabbage worms, a different yet equally as destructive caterpillar, can also decimate a crop seemingly overnight. Here is a helpful article with more information, including how to get rid of them.
Aphids are tiny insects that suck the sap out of the host plant. They often go unnoticed, hiding under leaves, until the damage is done. They have a symbiotic relationship with ants. Learn more in this helpful article.
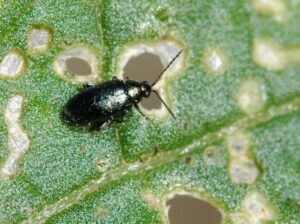
Flea beetles are small insects that jump like fleas when disturbed, hence the name. They come in different shapes, sizes, and colors. They chew small holes in the leaves that may resemble a buckshot pattern. They can be quite destructive, especially when there is an infestation. Check out this article for more information and how to get rid of them.
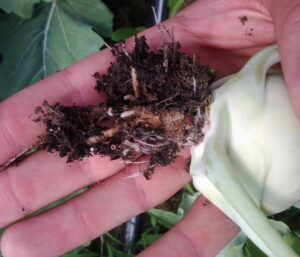
Clubroot Disease is a soil-borne fungal disease that infects brassicas, causing their roots to develop galls or clubs. The result is that the roots are unable to transport water and nutrients for the plant’s growth. Even though the fungus can live in the soil for ten or more years, it can only thrive in acidic soil. To eliminate the fungus, raise the soil pH to between 7.0 and 7.2. You can learn more about this disease in this article. To learn more about how to raise the soil pH in this article.
When to Harvest
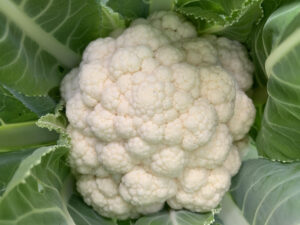
Most varieties of cauliflower are ready to harvest in about sixty to ninety days. It is time to harvest cauliflower when the buds are still tight, and it has reached 6 to 8 inches in diameter. Use a sharp knife or shears to cut the head. If you would like, you can leave a collar of leaves around the head to prolong freshness in the refrigerator.
Unlike broccoli, which produces smaller shoots after the main head is harvested, cauliflower produces only one head and no side shoots.
Seed Saving
Cauliflower is a biennial plant, meaning it takes two years for the biological cycle to be complete. If you want to save seeds you will have to leave the head and wait for the second year for the plant to produce seeds.
Varieties
There are many types of cauliflower to choose from. Some varieties produce white heads, but other varieties produce purple, yellow, green, and orange heads.
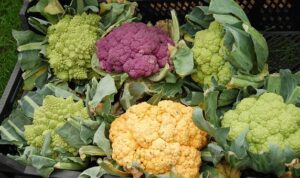
Varieties that produce white heads include Amazing and Andes, both of which are heat and cold tolerant. Snowball, another white variety, is the one most commonly grown.
Colorful varieties include Cheddar and Clementine Hybrid, which produce orange heads. Purple varieties include Di Sicilia Violetta, Graffiti, and Purple Cape. Green Goddess F1 is a lime green variety.
Regardless of which variety you choose to grow, cauliflower is a good choice for a cool weather crop. Roasted, riced, steamed, stir-fried, or eaten raw, it is delicious and nutritious.
Thank you for reading this article! If you found it helpful, please consider sharing it with others via email or social media!