Dirt cheap is an idiom people use when they want to express how inexpensive something is. The idea is that since dirt is plentiful, it must be cheap. Ironically, good, quality dirt is not cheap. If you have purchased organic potting soil or potting mix lately, then you know this to be true.
Gardeners understand the importance of using nutrient-rich, well-draining potting mix when starting your garden. But it is just as important to use healthy soil when replanting! How can you grow the next round of flowers or vegetables in healthy soil without breaking the bank? The answer is to refresh and reuse the existing soil.
All garden soil, whether in the ground, raised beds, or in containers, needs to be refreshed from time to time. Container soil especially needs to be revitalized because the nutrients are depleted at a faster rate than that of in-ground or raised bed gardens. The reason is that plants in containers can only access nutrients that are in their container, while plants that are grown in the ground or in raised beds can draw nutrients from the surrounding soil. What’s more, over time, the nutrients in container soil are more likely to be flushed out with the draining water, unlike in-ground gardens and raised beds that can absorb the water and thus retain the nutrients. (While some may consider this to be a downside to growing in containers, the benefits of container gardening more than make up for it!)
This article contains affiliate links. If you make a purchase using one of these links, I will receive a very small commission at no additional cost to you, and it will help me maintain this website. Rest assured, I only recommend products I actually like!
Here are five simple steps to refresh and reuse soil:
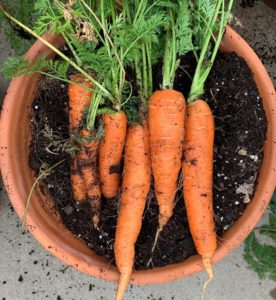
Step 1: Remove Plant and Debris
Remove the spent plant you will be replacing, including the roots and any debris like twigs, rocks, etc. Break up any clumps by hand or with a trowel. Loosening the soil and removing debris will eliminate impediments to developing roots.
As an alternative to loosening the soil by hand, I often use a specially designed garden auger bit that easily fits most electric drills. The drill bit makes quick work out of the process and eliminates hand fatigue, especially if you have to remove plants with a thick stalk like okra, Brussels sprouts, cauliflower, broccoli, etc. It is also very helpful when it comes to planting a large number of bulbs as it can dig holes in a fraction of the time it takes to do so by hand.
Be sure to compost the plant material unless, of course, the plant was diseased or infested with pests. Chances are, small scale compost piles won’t be able to maintain a high enough temperature to kill pathogens and pests.
Step 2: Temporarily Remove the Soil
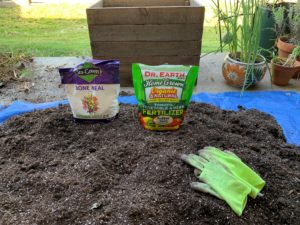
Lay a tarp on the ground and empty the soil onto the tarp. If you have more than one container that was growing the same kind of plant, like zucchini or other summer squashes, for example, you can empty the containers onto the tarp at the same time, provided your tarp is large enough. This will save time when adding soil amendments (step 4) if you can do it in bulk instead of by individual container.
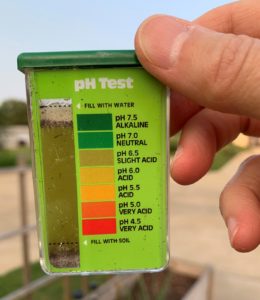
Step 3: Test the Soil
It is helpful to use a soil test kit to determine the acidity or alkalinity, as well as the nutrient level (nitrogen, phosphorus, potassium) of the soil. This will help you know if you need to correct the soil pH or if you need to add specific nutrients for the type of plant you are going to be growing. You can learn more about the preferred soil pH of a wide variety of plants in this helpful article.
If you have added more than one container of soil onto the tarp, blend it together before taking a sample so that you will get a reading of the aggregate. Generally speaking, the soil from the containers should be in similar condition since each container housed the same kind of plant, and therefore, had the same nutrient demand on the soil. You can test each container of soil individually if you want to, but combining them will save you time and money.
After you have determined the soil pH and the preferred pH of the plants you will be growing, you can decide if you need to adjust it. Generally speaking, you can add amendments like garden sulfur to lower the soil pH (make it more acidic) or garden lime to raise the soil pH (make it more alkaline). It is very important that you follow the directions on the package, as more is not better! In addition to garden sulfur and garden lime, there are more ways to lower the soil pH (make it more acidic) or garden lime to raise the soil pH (make it more alkaline).
Step 4: Amend the Soil
A soil nutrient test will help you determine if you need to add additional nitrogen, phosphorus (listed as potash on some test kits), or potassium. These macronutrients, in the correct portions, are vital to healthy soil and therefore, healthy plants. The following are some of the various amendments that can be added to the soil to revitalize it:
Compost – Organic compost is usually the preferred amendment for adding microorganisms back into container soil. Because it is aged organic matter, it is rich in macro and micronutrients. Compost also helps to improve the soil texture. You can easily make your own compost, but you will need to plan ahead since compost can take several weeks to several months to mature. You can also purchase compost from your local plant nursery or big box stores.
While compost is an amazing amendment, do not add more than 25% to your existing soil as it can increase the microorganisms too quickly, which can, in turn, use up the available nitrogen in the soil. It will also change the soil pH. Keep in mind that while compost adds nutrients to the soil, it is technically not considered a fertilizer. Many experts recommend adding fertilizer as well.
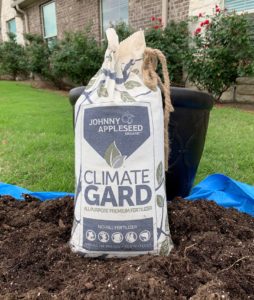
Organic Granular Fertilizer – While compost feeds the soil, organic fertilizer feeds the plants because the nutrients are more readily available than nutrients in the compost. Organic fertilizers may also contain probiotics, microbes, and mycorrhizae which can benefit soil composition. The two organic granular fertilizers that I use to refresh my soil are Dr. Earth’s and Johnny Appleseed’s Organic’s Climate Gard.
Organic fertilizers are preferred over synthetic chemical fertilizers, which disrupt the symbiotic relationship between microbes and increase harmful salt levels. Their use can cause the soil to need increasingly greater levels of fertilizer to produce the same results.
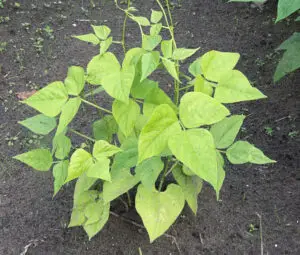
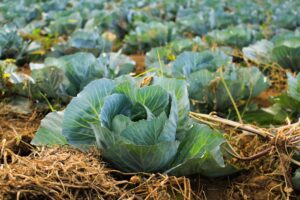
Individual Nutrients – You may want to also incorporate additional amendments into the soil that are more specific to the plants you will be growing. For example, brassicas like broccoli, Brussels sprouts, cauliflower, kale, etc., are heavy nitrogen feeders, so you may want to add additional blood meal to the soil. Bone meal, on the other hand, is a good addition for root crops like carrots and beets because they require more phosphorus. If you are looking to add potassium, organic green sand is an option. It is important to follow the manufacturer’s instructions on the package.
Amendments to Improve Drainage – If you find that the soil in your containers or raised beds tend to be compacted, you may want to add perlite or vermiculite, which will create pockets or channels through which water and nutrients can more easily reach the plant’s roots. Perlite and vermiculite, which are often found in store-bought potting mixes, are white minerals that have been expanded after being exposed to high heat. Some describe them as looking like small white popcorn bits.
Step 5: Clean and Fill Containers
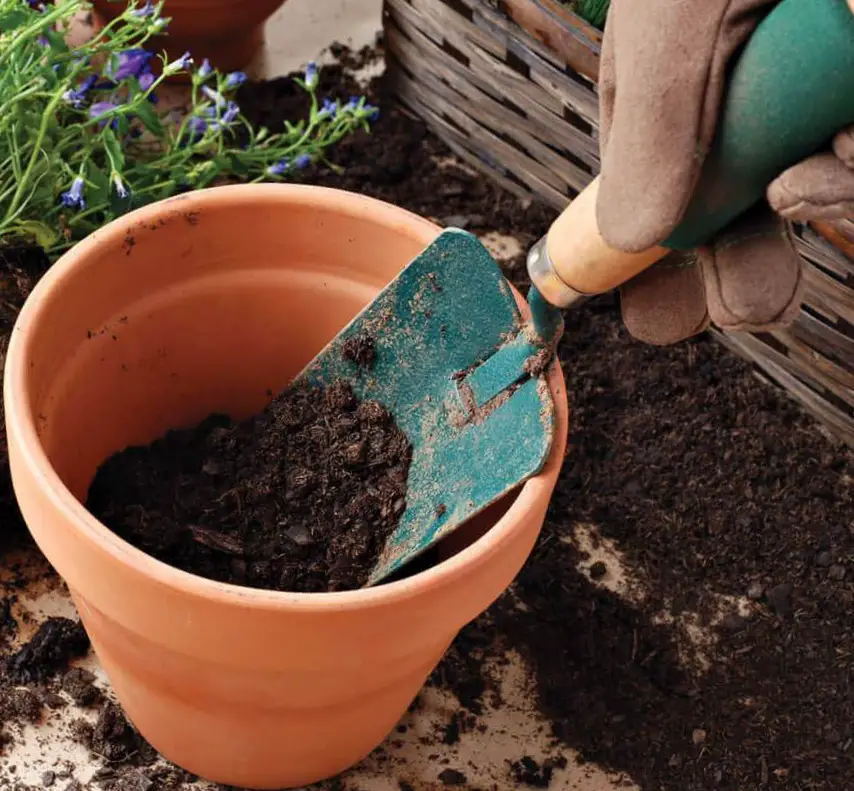
Incorporate the appropriate amendments into the soil so that they are evenly disbursed. Before filling the containers, you may want to clean them using a bleach mixture of 1 part bleach to 9 parts water. This will kill any pathogenic spores or insect eggs lingering in the container. You can learn more in this helpful article.
Fill the container with the refreshed soil one to two inches from the top. Plant seeds, seedlings, or transplants and enjoy the growing season!
When Should You Throw It Out and Start Over?
There are some instances when reusing soil is not advisable. If plants that were growing in the soil had diseases such as Fusarium wilt, Verticillium wilt, which are not treatable, then it is best to place the soil in a bag and throw it away. Do not add it to the compost pile as most piles do not maintain high enough temperatures to kill these and other pathogens. Be sure to thoroughly clean the containers with a water and bleach mixture.
In addition, if the plant was infested with pests like root knot nematodes, fungus gnats, or other harmful insects, you will need to treat the soil accordingly. Some may find it easier to discard the soil and any eggs or larvae it contains (again, do not compost it), but that is up to you.
Reusing existing container soil is a great way to get the most out of your resources. It is easy to do and a good way to revitalize your garden.
Thank you for reading this article! If you found it helpful, please consider sharing it with others via email and social media!